
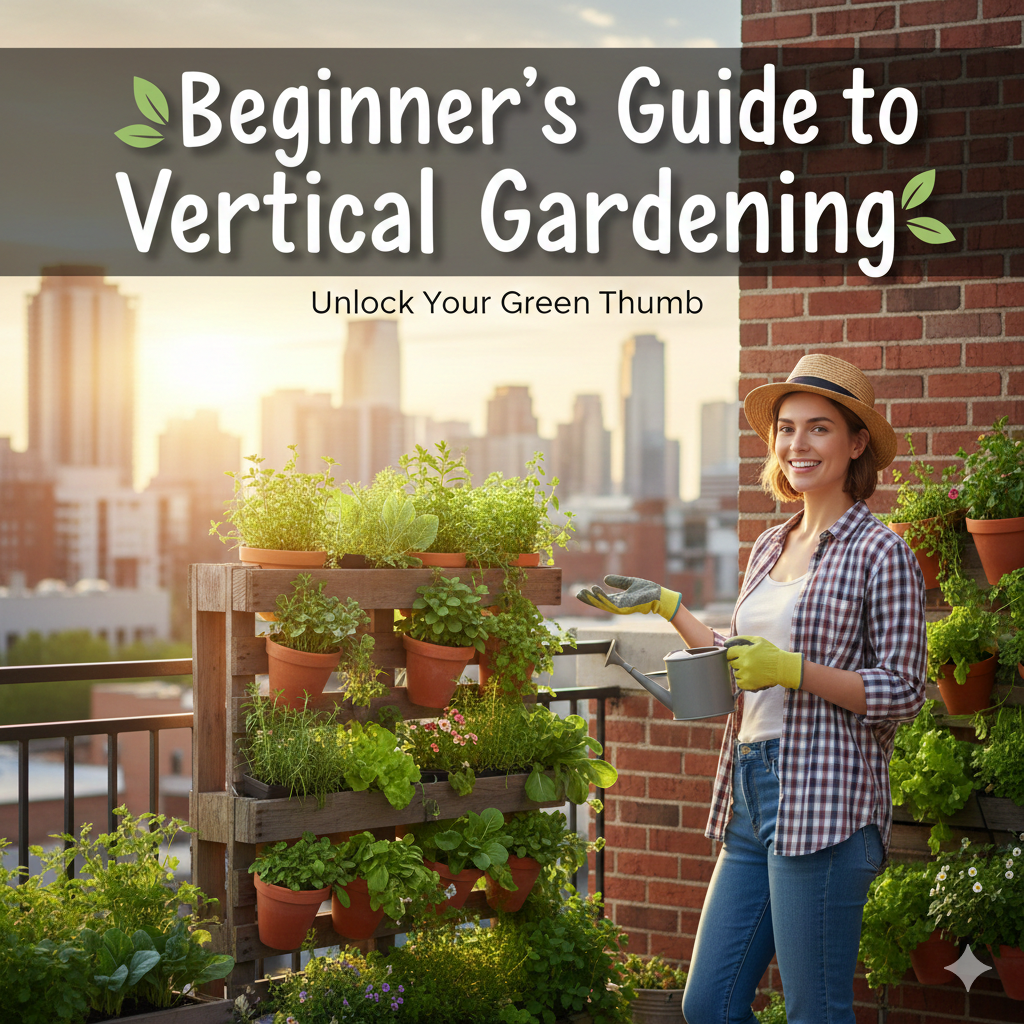
What even is vertical gardening?
As the name suggests, vertical gardening is basically gardening, but vertical. But how is it different than traditional gardening? Is it similar to stacking plants on shelves?
Not really. Vertical gardening is far more unique and interesting than that. It combines different techniques and specially designed structures to grow plants upward instead of outward, creating a smart and space-saving way to garden.
The basic steps include choosing the right structure, the right plants, the right soil, and the right irrigation system. At first, this may sound simple. But in reality, many beginners make small yet crucial mistakes that often lead to a messy setup and unhealthy plants.
Don’t worry, though. In this article, we’ll go step by step and guide you through creating your very first vertical garden. Even if you’ve never gardened before and have absolutely no experience, you can still succeed with patience, effort, and the right guidance.
Should You Choose a Vertical Garden?
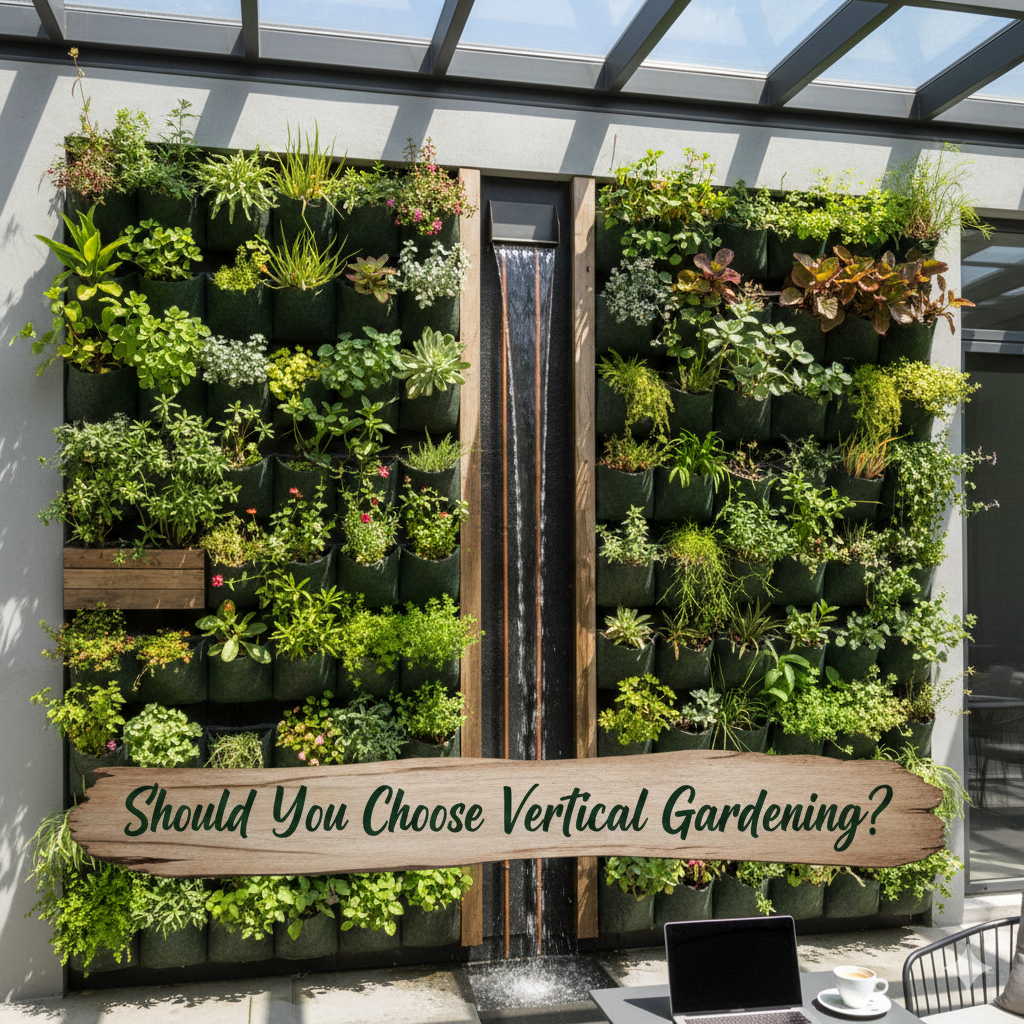
Before we dive into the actual steps, it’s important to understand what you’re getting into. Vertical gardening isn’t the same as traditional gardening, and it brings different challenges—and different results. Since it takes time and effort, you’ll want to be sure it’s worth it and that it will give you the results you’re hoping for.
Here are some reasons to choose vertical gardening over traditional gardening:
1. Saves Space
Space is often the biggest challenge for gardeners today, especially in apartments with little or no open land. Vertical gardening solves this by letting you grow plants on walls, balconies, or in tight spaces. It’s not only practical but also visually appealing. If you want to garden in a small area, vertical gardening is the perfect solution.
2. Natural Air Refresher
Indoor air often gets dry from fans or air conditioners, especially in winter. Plants naturally release moisture through transpiration, which boosts humidity. A vertical garden indoors can make the air feel fresher and more comfortable, helping reduce dryness in your skin, throat, and eyes. In low-humidity spaces, it can even improve your quality of life. Pretty cool, right?
3. Open Market
Imagine this: you walk into a grocery store, pick up fresh vegetables, and walk out—without paying.
No, it’s not shoplifting. This is your vertical garden. These gardens are like small towers where fruits and vegetables grow outward. They’re fully customizable, letting you create a compact, organized, and beautiful mini “store” at home. Most of the produce grows at eye or waist level, so you don’t have to bend or kneel constantly—saving your back from strain. It’s a store full of fresh, natural produce, and the only cost is your time, effort, and patience.
4. The Trade-Off
Vertical gardening works wonders, but it’s not without its challenges. You can’t easily grow large or deep-rooted plants, soil dries out faster, and making sure every plant gets enough sunlight takes a bit of planning. Choosing the right plants and setting up a simple irrigation system can fix most of these problems.
If you’re okay with a little extra effort, you can make it work. Now it’s up to you—if you’re ready, keep reading. If not, it’s better to pause than end up frustrated with a half-finished garden.
Step 1: Pick Your Theme
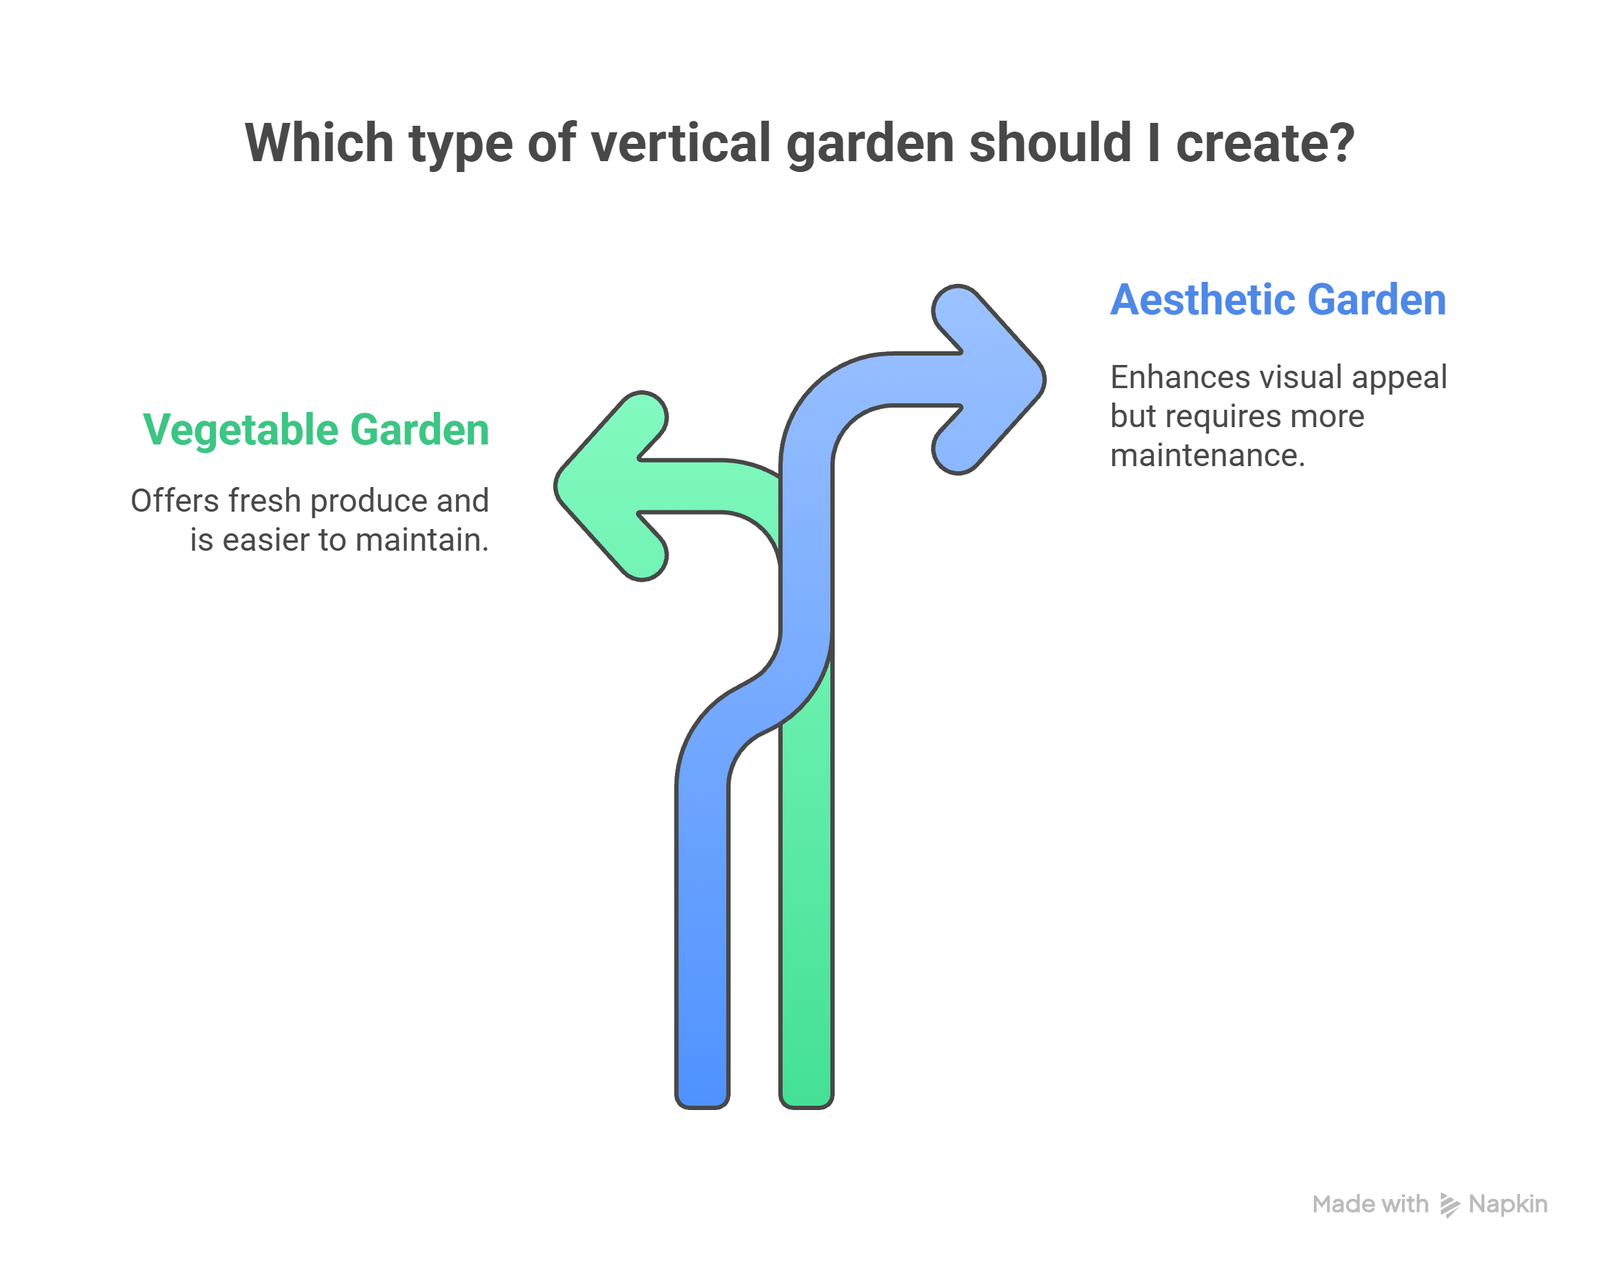
You can build a vertical garden for food production or purely for aesthetics. That’s where the real potential of vertical gardening lies. Depending on your chosen theme, your preparations will differ.
Since you’re a beginner, I recommend starting with vegetables. Aesthetic-focused vertical gardens are harder to maintain. Still, I’ll give you some insights into both.
Step 2: Pick Your Structure
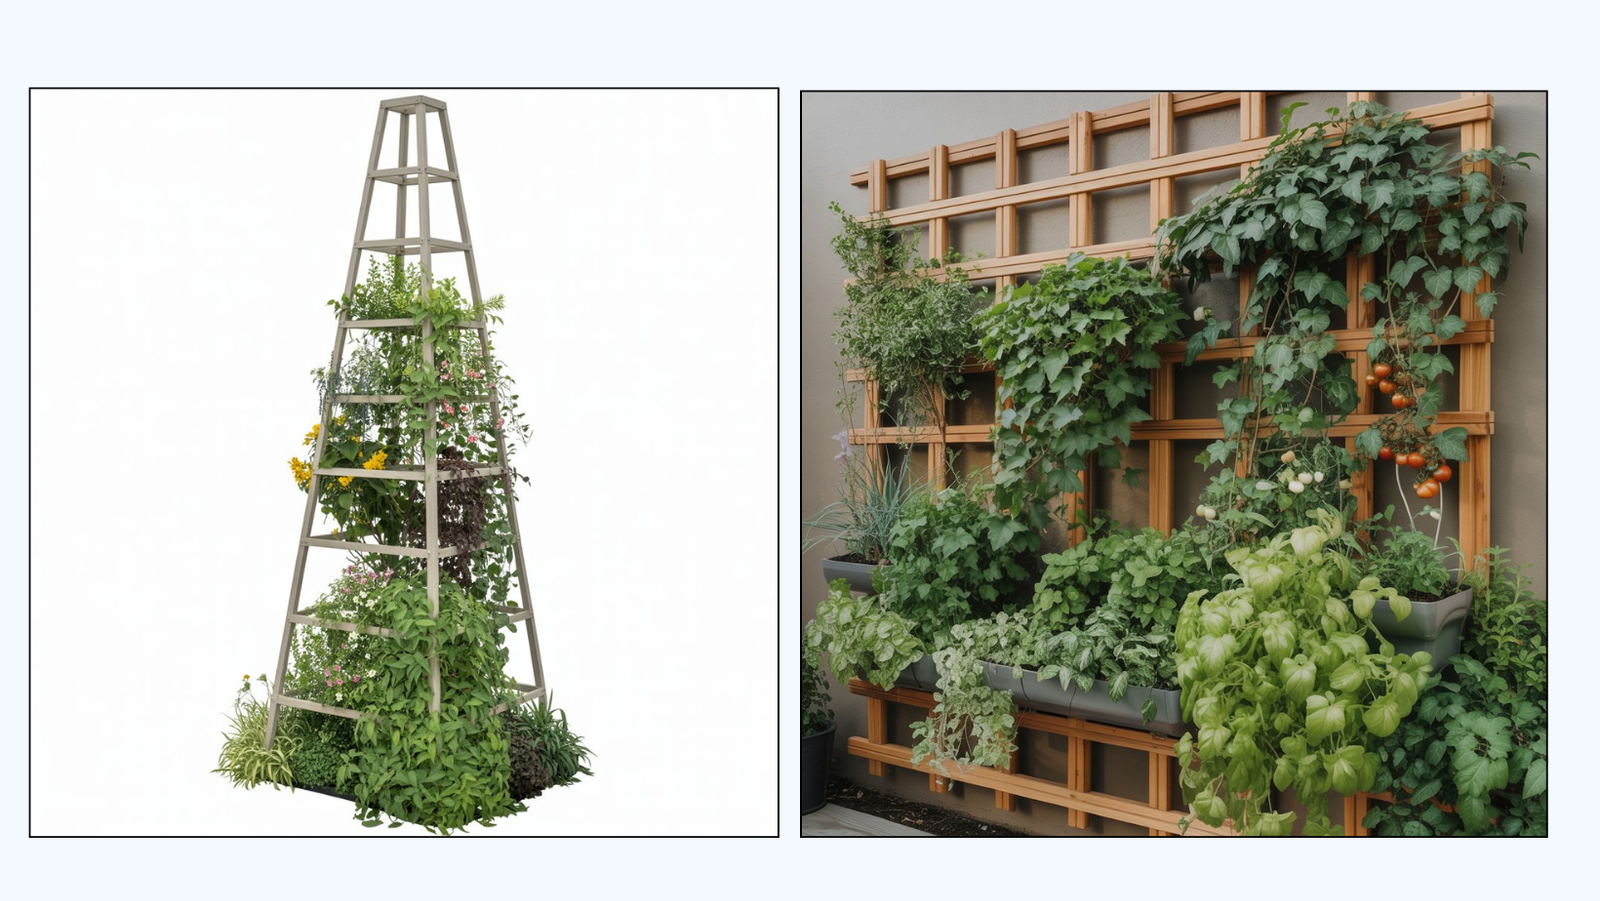
There are many structures to choose from, but we’ll keep things simple. Since you’re new, I recommend either an obelisk trellis or a panel trellis. Both work well in small spaces and are easy to maintain.
Step 3: Pick Your Plants
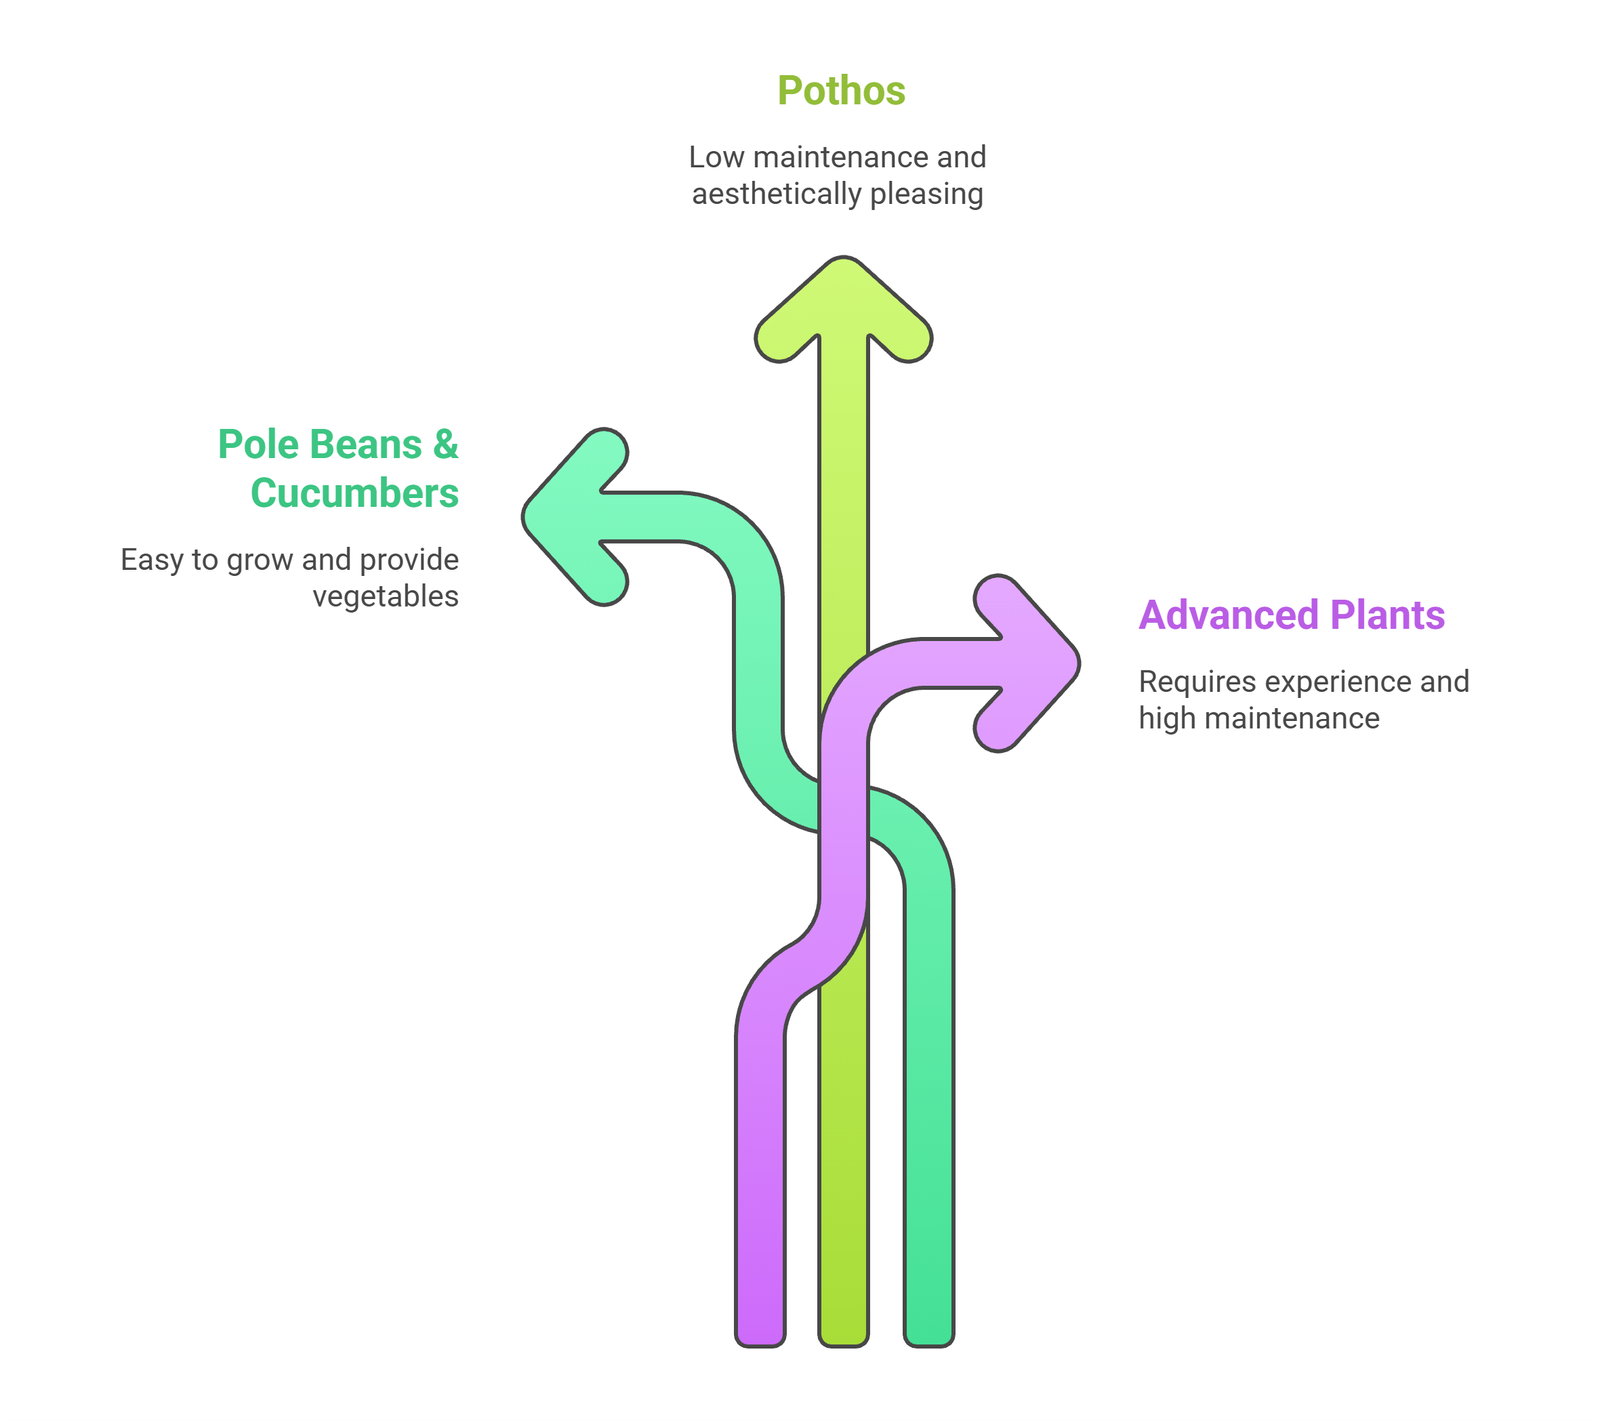
For vegetables, pole beans and cucumbers are excellent choices. For aesthetics, pothos is the best option—they practically grow on their own and require minimal effort.
Once you gain some experience, you can experiment with plants like orchids, staghorn ferns, indeterminate tomatoes, compact melons, gourds, Monstera deliciosa, and Ficus pumila. These require higher maintenance and more experience.
Step 4: Preparing the Soil

All the plants mentioned above require fast-draining soil, as they are sensitive to excess moisture. You can compost soil at home or buy it online.
If this is your first time, making soil yourself can be frustrating, so buying ready-made soil is a better option. You don’t need a special mix. Just ensure it drains water quickly.
Step 5: Setting Up the Irrigation System
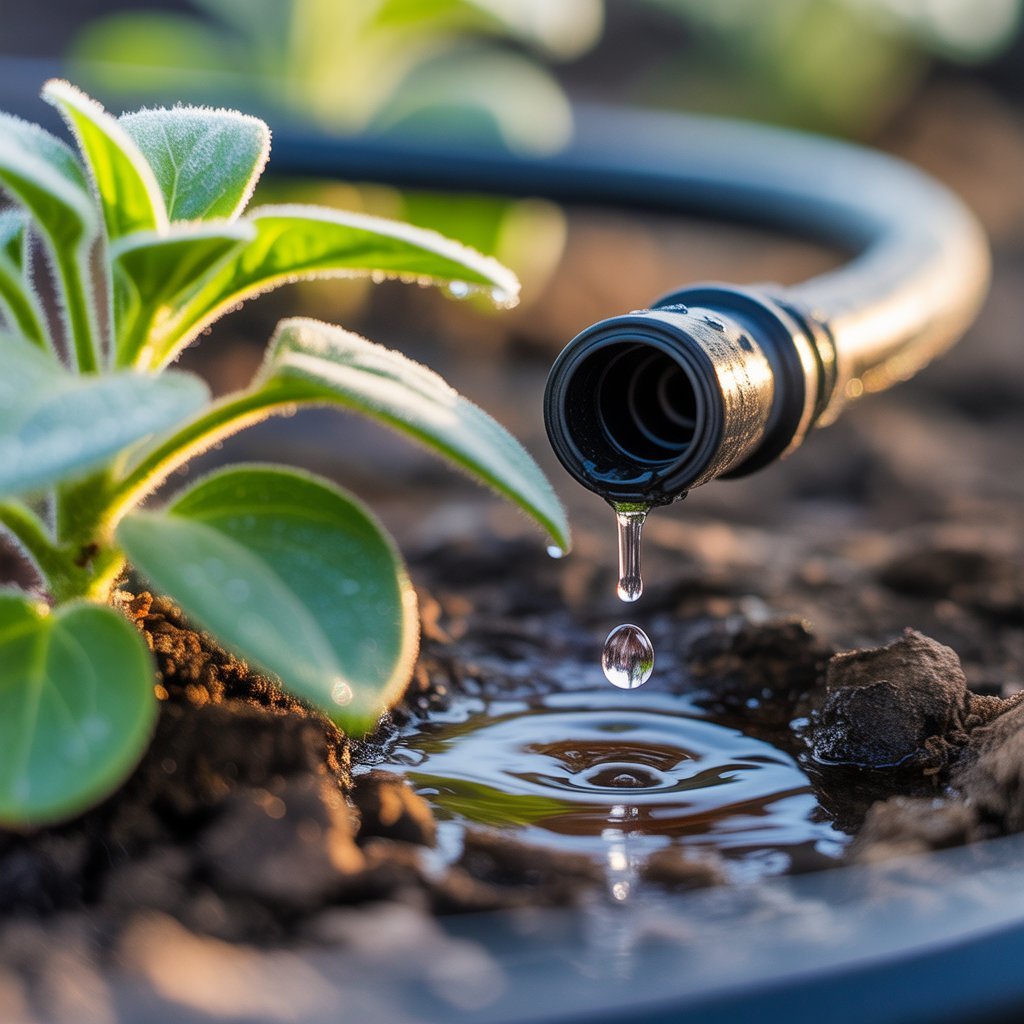
The irrigation system is the heart of a vertical garden—and also the most difficult part. For most vertical gardens, drip irrigation is the best choice, unless you’re farming on a large scale.
Drip irrigation delivers water slowly and directly to the roots using a small water pump, giving plants enough time to absorb moisture properly.
There are many DIY setups, but most aren’t unreliable. A small drip irrigation kit from Amazon is usually more dependable and often includes a timer, allowing you to water plants automatically at scheduled times.
Once set up, you won’t need to worry about daily watering. Just remember to refill the water tank when it runs out.
Final Step
Once everything is prepared, place the panel trellis or obelisk trellis in your balcony or chosen spot. Make sure the structure is stable and positioned where your plants will get enough sunlight during the day.
Next, place a pot at the base of the trellis and fill it with good-quality, compost-rich soil. Gently plant your seeds or seedlings into the soil, following the recommended spacing so the roots have enough room to develop.
After planting, connect your irrigation system or watering setup. At this stage, water lightly. The soil should be moist, not soaked. Overwatering is a common beginner mistake and can cause seeds to rot before they sprout, so it’s better to start slow and adjust as needed.
Once everything is in place, you’re done. With just a little regular care, proper watering, light, and patience, you’ve successfully set up your very first vertical garden.